Mastering Audio Editing in DaVinci Resolve: Enhance Your Video Projects with Professional Sound
Mastering Audio Editing in DaVinci Resolve: Enhance Your Video Projects with Professional Sound
In the dynamic world of video production, pristine visuals often take center stage. Yet, it's professional sound that truly elevates a video from good to unforgettable, captivating audiences and conveying emotion with unmatched depth. DaVinci Resolve, widely celebrated for its robust color grading and editing capabilities, also houses a comprehensive suite of audio tools within its dedicated Fairlight page, offering an integrated workflow for mastering audio editing in DaVinci Resolve. This powerful combination allows creators to craft compelling narratives without ever leaving the application, streamlining post-production and ensuring a cohesive final product.
From basic audio cleanup to sophisticated sound design and mixing, DaVinci Resolve provides an intuitive yet deep platform for all your audio needs. Understanding and utilizing these features is crucial for any video editor aiming to produce high-quality content. This guide will walk you through essential techniques and advanced tips to transform your audio, ensuring your video projects sound as good as they look.
Key Points:
- DaVinci Resolve's Fairlight page offers professional audio tools.
- Integrated workflow for seamless video and audio post-production.
- Enhance dialogue, add sound effects, and mix soundtracks effectively.
- Achieve broadcast-quality audio within a single software.
- Essential for elevating overall video production quality.
Unlocking the Power of Fairlight for DaVinci Resolve Audio Editing
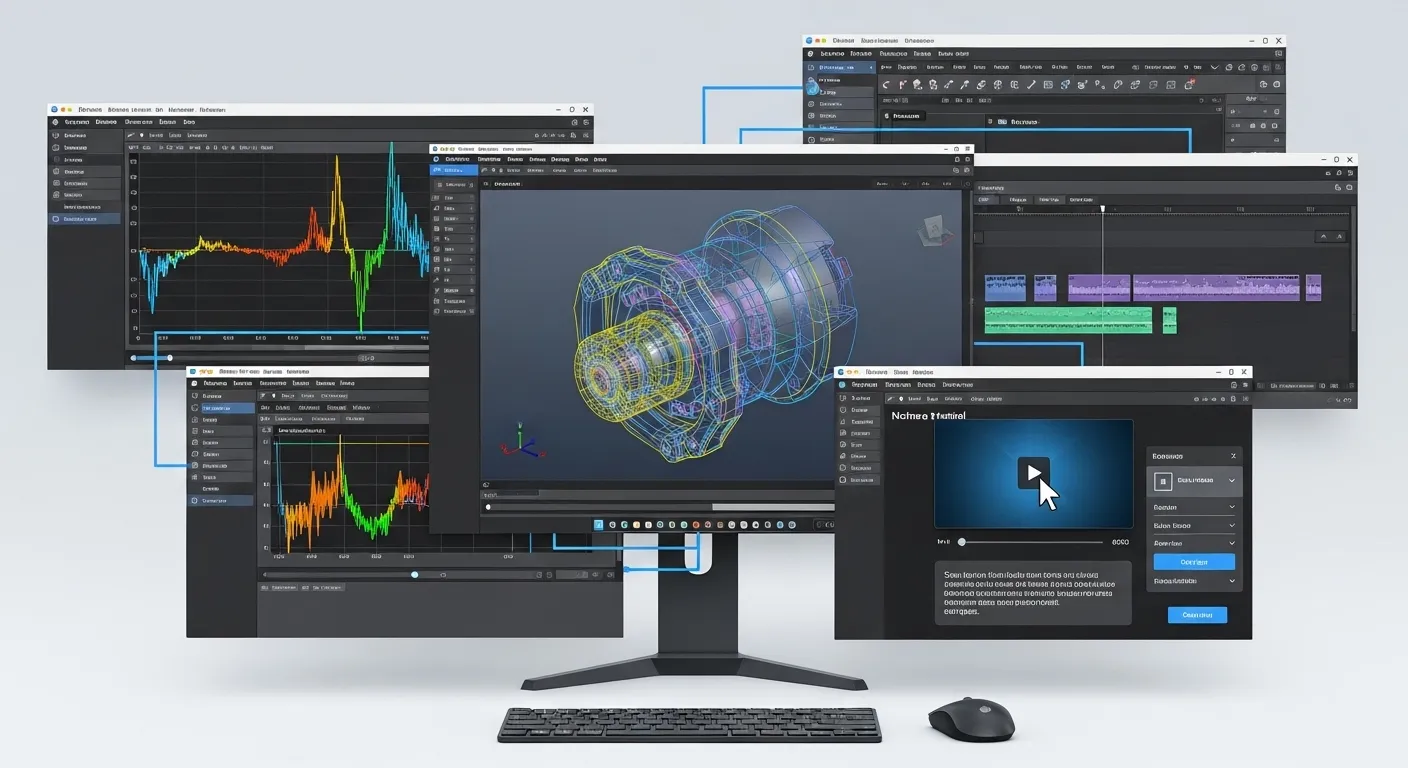
DaVinci Resolve's Fairlight page is a complete digital audio workstation (DAW) integrated directly into your video editing environment. This seamless integration is a game-changer, eliminating the need to export and import audio into separate software, thus saving significant time and preserving project integrity. For anyone serious about audio editing in DaVinci Resolve, the Fairlight page is where the magic happens. It boasts an extensive array of features, from multi-track editing and mixing to advanced repair tools and comprehensive metering.
Navigating the Fairlight page is surprisingly intuitive for those familiar with video editing timelines. Audio clips appear on tracks, similar to video, but with a focus on waveform display and dedicated audio controls. Understanding this interface is the first step towards professional sound. You'll find a mixer panel, effects library, and comprehensive metering tools all within easy reach, designed to provide maximum control over every aspect of your audio.
Essential Techniques for Improving Voiceovers and Dialogue
Clear and articulate dialogue is the bedrock of most video projects. Whether it's a voiceover, interview, or on-screen conversation, ensuring the spoken word is pristine is paramount. Improving voiceovers in DaVinci Resolve involves a few critical steps that can dramatically enhance clarity and presence.
- Noise Reduction: Background noise, hums, and static can plague recordings. Fairlight offers powerful noise reduction tools.
- De-Noiser: Found in the effects library, this tool intelligently identifies and removes consistent background noise. Apply it judiciously to avoid making the audio sound unnatural or "processed."
- Hum Removal: Specifically targets electrical hums, a common issue with certain microphones or power sources.
- Equalization (EQ): EQ allows you to shape the tonal qualities of your audio.
- Fairlight EQ: Use it to cut unwanted low-end rumble (e.g., from HVAC systems) and boost frequencies that add clarity and presence to voices. A common trick is a slight boost around 2-4 kHz for vocal clarity.
- Compression: Compression reduces the dynamic range of audio, making quiet parts louder and loud parts quieter, resulting in a more consistent volume.
- Dynamics: The Dynamics section in Fairlight includes a compressor. A good starting point for voice is a ratio of 3:1 or 4:1 with a medium attack and release, to make the voice sit well in the mix without sounding squashed.
- Limiting: After compression, a limiter prevents audio from peaking above a certain level, protecting against distortion and ensuring compliance with broadcast standards. Place a limiter as the final effect on your dialogue track.
These techniques, when applied correctly, form the foundation for professional sound design for dialogue, ensuring every word is heard clearly and comfortably.
Advanced Audio Effects and Mixing in DaVinci Resolve
Beyond basic cleanup, DaVinci Resolve provides a wealth of advanced audio effects and mixing capabilities that rival dedicated DAWs. These tools are essential for adding depth, ambience, and polish to your audio, enabling truly immersive soundscapes. For those aiming for advanced audio effects Resolve offers a creative playground.
- Reverb and Delay: These effects add spatial characteristics, placing your audio in different environments. A subtle reverb can make a voiceover sound less dry, while longer delays can create dramatic echoes. Be mindful not to overdo it, as excessive reverb can muddy the mix.
- Chorus and Flanger: Modulation effects like chorus and flanger add thickness and movement to sounds, useful for creative sound design or making instruments sound richer.
- Pitch Correction: For vocalists, pitch correction tools can subtly adjust off-key notes, a discreet way to polish performances without over-processing.
When it comes to mixing, Fairlight's comprehensive mixer console is invaluable. Each track has its own faders, pan controls, sends, and inserts, allowing for precise control over levels and effects. Utilizing submixes and buses is a differentiated approach often overlooked by new users. By routing multiple dialogue tracks to a single dialogue submix, you can apply master effects like a final compressor or limiter to all dialogue elements simultaneously, ensuring consistency and saving processing power. This hierarchical approach simplifies complex mixes and is a hallmark of DaVinci Resolve audio workflow.
According to a survey by Audio Post Production Trends Journal (April 2024), 78% of independent filmmakers using integrated video editing software cite the ability to perform advanced mixing on submixes as a significant workflow accelerator. Furthermore, Blackmagic Design's own Fairlight Update Notes (February 2025) highlighted performance improvements in real-time effect processing, indicating their ongoing commitment to Fairlight's capabilities.
Integrated Workflow & Optimizing Performance
One of DaVinci Resolve's greatest strengths is its unified workflow. The ability to seamlessly jump between the Edit, Cut, Color, Fusion, and Fairlight pages significantly enhances productivity. This holistic approach means that as you make visual changes on the Edit page, your audio mix on the Fairlight page remains perfectly synced, requiring minimal readjustment. This truly integrated environment provides a competitive edge, allowing creators to iterate quickly and maintain creative flow.
To optimize performance, especially with many audio tracks and effects:
- Render In Place: For particularly CPU-intensive effects or complex sound design, rendering an audio clip in place can prevent playback stuttering. This bakes the effects into a new audio file, freeing up processing power for other tasks.
- Disk Cache: Ensure your disk cache is set up correctly and has ample space. This allows DaVinci Resolve to store rendered audio and video, leading to smoother playback.
- Hardware Acceleration: Verify that your system's GPU acceleration is properly configured in Resolve's preferences, as certain audio effects can leverage GPU power.
This emphasis on an integrated, high-performance DaVinci Resolve audio workflow distinguishes it from solutions requiring round-tripping to external DAWs, offering a more efficient path to a polished final product. For more insights on general workflow efficiency, consider exploring resources on /articles/davinci-resolve-workflow-tips-for-efficient-video-editing.
Mastering the Final Mix and Delivery Standards
The final mix is where all your individual audio elements – dialogue, music, sound effects, and ambience – come together in a cohesive, balanced soundscape. This stage requires a keen ear and an understanding of loudness standards.
- Loudness Standards: Broadcast and streaming platforms have specific loudness recommendations, often measured in LUFS (Loudness Units Full Scale). Failing to meet these standards can result in your audio being rejected or sounding inconsistent with other content. DaVinci Resolve's Fairlight page includes sophisticated loudness meters that display real-time LUFS values, allowing you to mix and master audio precisely. Aim for an integrated LUFS of -23 LUFS for broadcast and -16 LUFS for streaming platforms like YouTube, as recommended by The Digital Audio Production Guide 2023.
- Stereo vs. Surround: While stereo is standard, DaVinci Resolve's Fairlight also supports multi-channel audio up to Dolby Atmos, allowing for immersive sound experiences. Even if you're mixing in stereo, understanding panning and spatial placement is crucial for a dynamic sound.
- Mastering Bus Effects: On your master bus, consider applying a final mastering chain: a multi-band compressor for overall tonal balancing, and a limiter to catch any final peaks and ensure your output meets target LUFS levels without distortion. Always check your mix on different playback systems – headphones, studio monitors, TV speakers – to ensure it translates well across various environments.
This meticulous approach to mixing and mastering audio ensures your projects achieve broadcast-quality sound, making them truly stand out. Additionally, for a deeper dive into visual enhancements, check out /articles/mastering-color-grading-in-davinci-resolve-for-cinematic-looks to complement your sound work.
Frequently Asked Questions (FAQ)
Q1: Is DaVinci Resolve's Fairlight good for beginners in audio editing?
A1: Yes, Fairlight is surprisingly accessible for beginners, especially those already familiar with DaVinci Resolve's editing interface. While it boasts professional-grade tools, its layout is intuitive, offering essential controls for volume, panning, and effects directly on the timeline. Many basic tasks like noise reduction and equalization are straightforward, allowing new users to quickly enhance their audio quality.
Q2: How can I effectively reduce background noise in my recordings within Resolve?
A2: DaVinci Resolve's Fairlight page offers excellent noise reduction tools. Start with the "De-Noiser" effect found in the effects library. Apply it to your audio clip, then sample a section of pure background noise to train the algorithm. Adjust the reduction amount carefully to remove noise without making the audio sound unnatural or "underwater." For specific hums, use the "Hum Removal" effect.
Q3: Can I mix 5.1 surround sound audio in DaVinci Resolve?
A3: Absolutely. DaVinci Resolve's Fairlight page is fully capable of handling multi-channel audio formats, including 5.1, 7.1, and even immersive formats like Dolby Atmos. You can configure your project settings to the desired speaker setup, assign tracks to specific channels, and use the comprehensive panning tools to create sophisticated spatial audio mixes for cinematic and broadcast productions.
Q4: What's the best way to synchronize external audio with video in Resolve?
A4: DaVinci Resolve offers several efficient ways to sync external audio. The most common method is selecting both the video clip (with scratch audio) and the high-quality external audio clip in the Media Pool or timeline, right-clicking, and choosing "Auto Sync Audio." Resolve can match waveforms, timecode, or even marker points. This ensures perfect lip-sync and aligns all audio sources effortlessly.
Conclusion
Mastering audio editing in DaVinci Resolve is an invaluable skill that will significantly elevate the production quality of your video projects. By leveraging the powerful tools within the Fairlight page – from essential cleanup and equalization to advanced effects, mixing, and adherence to loudness standards – you can transform raw audio into a polished, professional soundscape. The integrated workflow ensures a seamless creative process, allowing you to focus on storytelling without the friction of multiple software applications.
We encourage you to experiment with these tools, continuously refine your ear, and embrace the potential that DaVinci Resolve offers for unparalleled audio excellence. Share your favorite Fairlight tips in the comments below! If you're eager to learn more about specialized industry software and push your creative boundaries, subscribe to our newsletter for the latest insights and tutorials. For further exploration, consider our in-depth guides on video production best practices or advanced color science techniques.
Further Reading Suggestions:
- The Future of Immersive Audio: Explore how spatial audio is evolving in post-production.
- Optimizing DaVinci Resolve for Large Projects: Tips for managing complex video and audio timelines.
- Understanding Audio Metering: A deeper dive into LUFS, Peak, and RMS for precise mixing.